Step by Step Guide:
How to Harvest Your
Air Conditioning Condensate

When air conditioners became a common household item, people quickly noticed a cheerful side effect to their operation: Water! Or in their formal name - 'air conditioning condensate'.
When the AC works it condenses the water in the air, and in surprising quantities, even in arid areas. You can harvest and use these waters.
My dad calls this "milking the air conditioners" :-)
We use it to water the lemon trees and cherry tomatoes bushes.
Here's the system we'll set up:
(click the image, then click the square at the top of the display, to see full size and details of the infographic)
Jump to:
Materials list | Instructions | How the float switch works | Making a water level gauge
Uses for Water Condensate from Your Air-Conditioner
- The best option – water the lawn and garden.
Add fertilizer to compensate for lack of salts and other nutrients in the AC water. - Wash the car windshield.
These are almost distilled water and are generally safe to put in your car's window washing system. Just add a little dish soap and you're good to go. - Clean the floors (what we call "Sponga"), or wash the windows and so on.
- Fill up a pond in your garden.
- These waters are also good for growing orchids.
- Drink.
Warning:
Air condensate may contain germs or other health hazards, that sit in the air conditioner's pipes.
Preferably - don't drink this water.
If you must – filter and boil first.
Here is a very lively discussion about the "to drink or not to drink" question:
https://www.quora.com/Is-waste-water-from-an-air-conditioner-safe-to-drink
The water from the AC are "good water", generally speaking, and "pure", because they have no salts or residue solids in them.
They are basically distilled water.
They contain some co2 which is dissolved in them.
If you are going to drink them,you MUST add salt.
The bare minimum is 9 milligram per liter, like a saline solution IV.
According to WHO and many other studies, most drinking water sources contain less than 20mg per liter, so take that as the top. (Actually, the max can go as high as ten times that, 200 mg/l, but that is becoming dangerous on the salty side)
WHAT TO DO:
For every 10 liter of water, add 1/4 teaspoon of salt, or less.
Preferably add the 1/4 teaspoon to 20 or 30 Liters to be on the safe side. - 1 teaspoon = 2000 mg of salt
1/4 tsp = 500 mg of salt
You need at least 9 mg to be safe, and preferably no more than 20 mg. - Make a drinking station for cats and dogs in the back of your building.
In a dish left out in the sun, the algae will soon grow. Together with some dust and other "good dirt" from the area, the water will become fit for animals to drink.
Step by Step instructions for setting up your own
Air Conditioning Condensate Collection System
Parts, Tools and Materials
- A place to set it up, with convenient access to the AC's water drain pipes.
- Access to a power outlet for the pump.
- Water Tank - opaque, preferably black.
Fit the size of the tank to the space you're going to set up in.
If you can, get a 1 cubic meter tank.
If you don’t have the room for that, get at least a 0.5 cubic meter tank.
Anything smaller is not worth collecting.
In that case, simply pull a pipe directly from the AC outlet to the garden/potted plant or set up a cat-drinking-station. - Submersible electric water pump, with a float switch. (See a short explanation on how this works at the bottom of the page).
- Opaque water pipes in the following diameters:
Drain pipes, 10mm
Breather pipes, 5-10mm
For the pumps' water outlet use 15 -25 mm, depending on the pump. - A garden hose or water pipe 22-25mm in diameter - long enough to bring the water to where you'd like to use them. (In your garden, for example.)
- Optional: One clear water pipe, for making a level gauge.
- 6 valves (taps)
- One T shaped pipe connector, in the diameter of the pump outlet / garden pipes.
- One 4-way connector, or another T connector for the outgoing pump line.
- If you are harvesting more than one air conditioner, get the materials you'll need to combine all the drains into a single line.
- Short pipes to create a breather for each AC drain – one T shape connector and a short breather pipe per drain.
- A power drill or another means of drilling all the holes you'll need in the tank.
Important:

The reason the tank and the pipes should be completely opaque is to prevent algae from growing in them. The combination of water, sunlight and heat is the sure recipe for an algae-clogged system. You can use garden hose, grey, blue, black or a triple-layer plastic hose. Anything that doesn't let the sunlight in.
Instructions
1.
Set up the tank in a level place.

2.
Get all the drain pipes from your house's air conditioners together. You might need to extend them so they all reach the tank.
Connect them all to a single line.
Add a breather to the condensate pipe, before it enters the water tank.
Make the breather pipe in an inverted U or inverted L shape.
3. AC water entry:
Drill one hole at the top of the tank for the water to enter from the AC. Thread the AC condensate drain pipe into that hole.
4. Breather:
Drill one hole on the top of the tank for a breather pipe – to allow air to enter and exit without particles or insects.
This can be a small hole, 5mm to 10mm inner diameter.

5. Power cord:
Drill one hole for the pump's electric power cord on the top of the tank.
Make it as small as possible, just big enough to thread the power cord.
Get the electric pump:
Make sure the power cord is long enough to reach a power outlet.
Disconnect the plug from the pump's power cord.
Place the pump inside the tank.
Thread the electric power cord through the hole you drilled, and out of the tank.
You can install a switch on the outside part of the power line, or, just re-connect the original plug.
Plug the pump into the power outlet.
Give it a test, make sure it works.
Disconnect the pump from the power outlet, until you're done and ready to switch the system on.

6. Main Water Exit:
Drill a hole on the top of the tank, through which the pump will push the water out.
This hole should be the same diameter as the pumps' outgoing pipe.
Thread the outgoing pipe through this hole.
Connect it to the pump's outlet.
Connect the outgoing line to a 4 or 3 way connector.
Add breather on the top end, with valve X1.
Add valve X2 on another end.
Connect the main line going DOWN the side of the tank. We'll connect this to the bottom exit in the next step.
The siphon action created here can drain the tank even if the pump fails.
For the siphon to work, you must close valves X1, X2 and X4.
If air enters the system anywhere the siphon effect will break.
7. Drain:
rill 2 draining holes at the bottom, on opposite sides of the tank, about 10 mm in diameter each.
This is a must.
You need to be able to drain and periodically clean out any mud and other residues. This tank is, after all, sitting outside and has all these holes in it. Dust will get in, there's no avoiding it.
Always leave about 10cm of water at the bottom of the tank.
Place the bottom drain holes at that height.
This way, should any dirt find its way inside, it will not clog the pipes.
To drain and clean out the tank, slosh the water around making the dirt rise, then open valve X6 to let the dirty water out to the floor or into another container.
Do not let dirt go thru the pump line, or thru the pump itself!
It will damage the accelerator, or clog your systems' outlet.
8. Connection everything:
For this step and the next, please look at the previous illustration again for clarity:
On one drain hole, connect a pipe.
Connect valve X4 to it.
Connect a T connector, after valve X4.
Connect another pipe – a larger 25 mm or more pipe.
This is the pumps' water outlet, and these pumps are strong, so get a 25 mm pipe at least.
Optional: Place valve X5 on this exit, after the T.
This is the systems' exit.
9. To the top of the T, connect the pumps water outlet you threaded in step 6.
Install valve X3 on this line as well, before the T.
10. Run a pipe from the valve to the garden or to where you want the water to go!
11. Plug the pump to the power again.
That's It! You're done!
Using the Water You Harvested
When you want to use the water you've collected, open valves X3 and X5, and make sure the pump is turned ON.
Go enjoy a cup of coffee – your system is automatic :-)
Note about valve X4, the one before the T - make sure it's closed.
This is a service exit, to use when you wish to drain the tank or work on the pump line. If you leave it open while the pump works, it might interfere with the flow.
If the pipe that goes to the garden is not big enough, the pumps' pressure might send water back into the tank instead of out to the garden. Just leave X4 closed. This way, the garden hose will get all the pump's water pressure.
How the float switch works
When the air conditioners work, they will fill up the tank.
The rising water level will raise the float to a vertical position, turning the pump ON.
It will start pumping, sending water out of the tank, and on to your garden thru the pipes you have laid out.
Once the water level drops, the float will go down to a horizontal position and switch OFF, stopping the pump.
This way the whole system works automatically! You don't need to be there out in the sun babysitting it.
Optional Addition: making a gauge to see how much water there is in the tank

Drill an extra hole, on the tanks' side wall, as high up as possible.
Connect one of the drain holes to a transparent pipe.
Pull it up as high as you can and then back inside the tank.
This is your water level gauge.
Using the law of communicating vessels you'll be able to see exactly what the water level is inside the tank.
Remember though, that a transparent pipe is sure to have algae grow in it.

I hope you found this useful!
One more thing you can do with the AC condensate is make a drinking station for street cats. It's so simple, and they will be grateful to you.
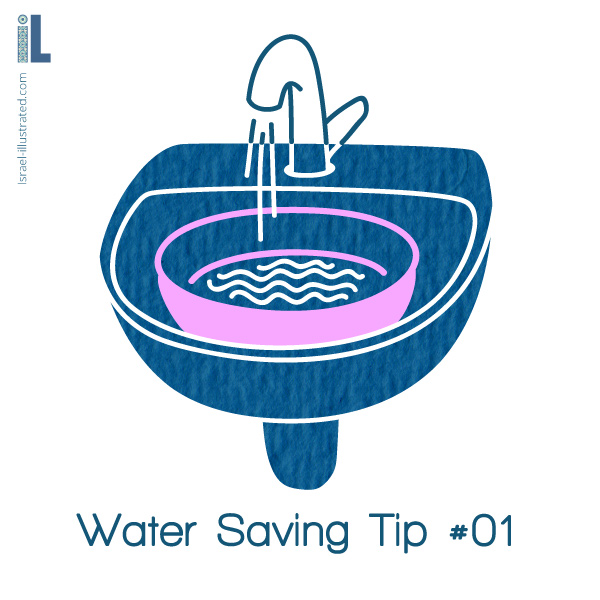
I've also put together a whole list of ways to save water at home - You can see it here>>
Follow Me on Instagram:
https://www.instagram.com/nettacanfi/
You might like these:
Local Showers - weather in Israel
This is a true story! It happened to me at the Megiddo Airport, in Israel >>
Israeli Ways to Save Water
A big list of ways to save water - this is how we do it in the holy land, which may have milk and honey, but not much water
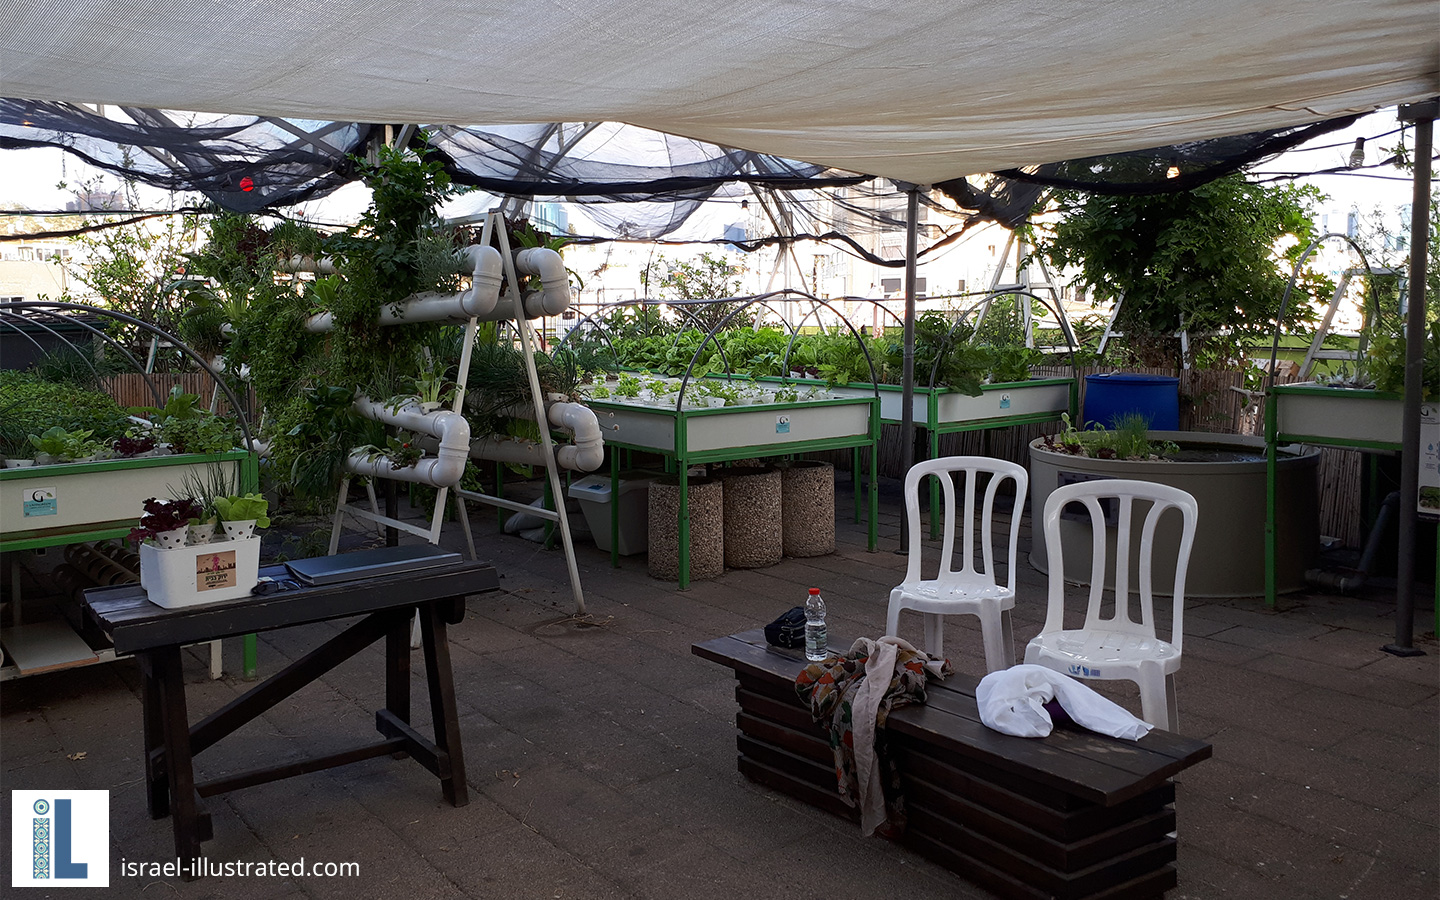
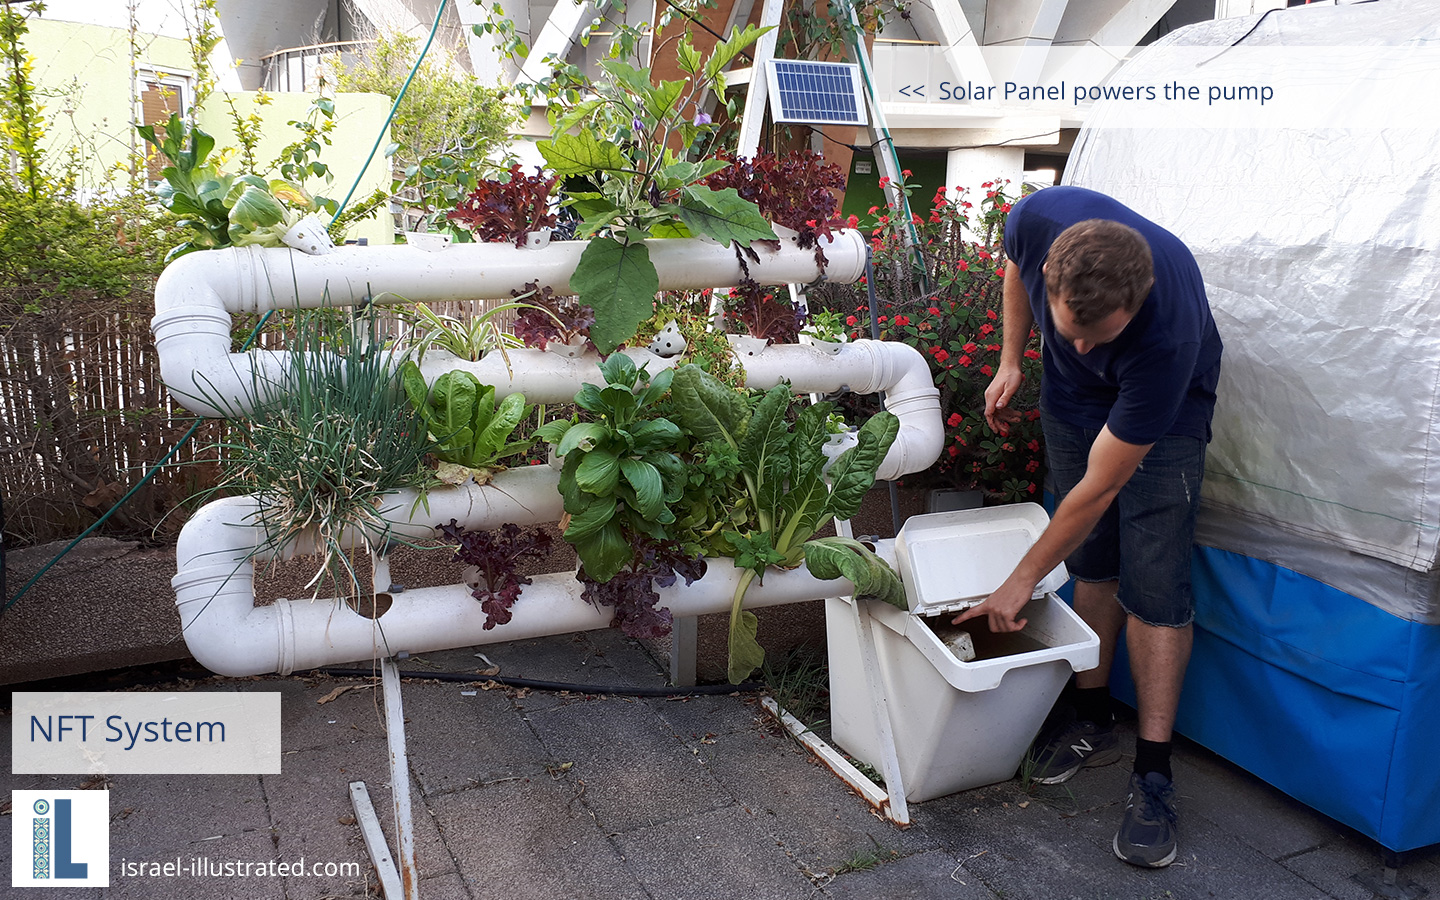
Hydroponic Farming on the Tel Aviv Rooftops
There's a green surprise on the rooftop of Tel Aviv's first shopping mall: A big Hydroponic Farming Greenhouse

The official Israel Met Service at their website:
ims.gov.il

Recent Articles
-
Children Drawing at War
Dec 07, 23 09:02 AM
 Children of Sderot, Israel, drawing their hopes and fears. I work with the evacuated kids now at the Dead Sea hotels, and what they draw is very revealing
 -
Israel 2023 - Illustrated War Journal by Netta Canfi
Oct 29, 23 04:39 PM
 An Illustrated War Journal, created in real time: Israeli artist Netta Canfi draws her experiences in the Israel-Hamas War.
 -
War Israel Hamas
Oct 10, 23 01:22 PM
 Hamas massacres Israeli civilians in music festival and Kibbutzim on Gaza border. Hostages taken into Gaza, at least 900 Killed
Home | Blog | Art and Culture | Coloring Pages | Covid19 in Israel | Life in Israel | WAR | Climate | Food
Contact Us | About | Legal
israel-illustrated.com / il-lustrated.com all rights reserved 2016-2023